
Configuring Priyo Mail DNS settings correctly is essential for seamless email delivery, security, and domain authentication. This guide walks you through the process with simple steps, real examples, and troubleshooting tips to help you set up your DNS records like a pro.
Key Takeaways
- Understand DNS basics: DNS translates your domain into an IP address, enabling email routing and authentication.
- Priyo Mail requires specific DNS records: MX, SPF, DKIM, and DMARC records must be configured for proper functionality.
- Use your domain registrar’s DNS panel: Most providers like GoDaddy, Namecheap, or Cloudflare allow easy DNS management.
- Double-check record syntax: A single typo can break email delivery—always verify formatting and values.
- Allow 24–48 hours for propagation: DNS changes take time to update globally—patience is key.
- Test your setup: Use online tools to validate DNS records and ensure email security.
- Keep records updated: Regularly review and maintain DNS settings to avoid service disruptions.
📑 Table of Contents
- Why Priyo Mail DNS Settings Matter
- What Are DNS Settings and Why Do They Matter for Priyo Mail?
- Step-by-Step Guide to Configuring Priyo Mail DNS Settings
- Common Mistakes to Avoid When Setting Up Priyo Mail DNS
- How to Verify Your Priyo Mail DNS Configuration
- Tips for Maintaining Your Priyo Mail DNS Settings
- Conclusion
Why Priyo Mail DNS Settings Matter
Email is the backbone of modern communication—especially for businesses, freelancers, and organizations relying on professional correspondence. If you’re using Priyo Mail, a fast-growing email hosting service known for its affordability and reliability, getting your DNS settings right is not just important—it’s essential. Think of DNS (Domain Name System) as the postal service of the internet. It tells email servers where to deliver messages, how to verify senders, and how to protect against spam and phishing.
Without proper DNS configuration, your emails might end up in spam folders, fail to send, or worse—be rejected entirely by recipient servers. That’s why understanding how to configure Priyo Mail DNS settings is a must-have skill. Whether you’re setting up a new email account or migrating from another provider, this guide will walk you through every step with clarity and confidence. We’ll keep things simple, practical, and jargon-free—just like explaining it to a friend over coffee.
What Are DNS Settings and Why Do They Matter for Priyo Mail?
Before diving into the setup, let’s break down what DNS settings actually do. In simple terms, DNS is like a phonebook for the internet. When someone sends an email to [email protected], their email server looks up your domain’s DNS records to find out where to deliver the message. For Priyo Mail to work correctly, your domain must point to the right servers and include security records that prove your emails are legitimate.
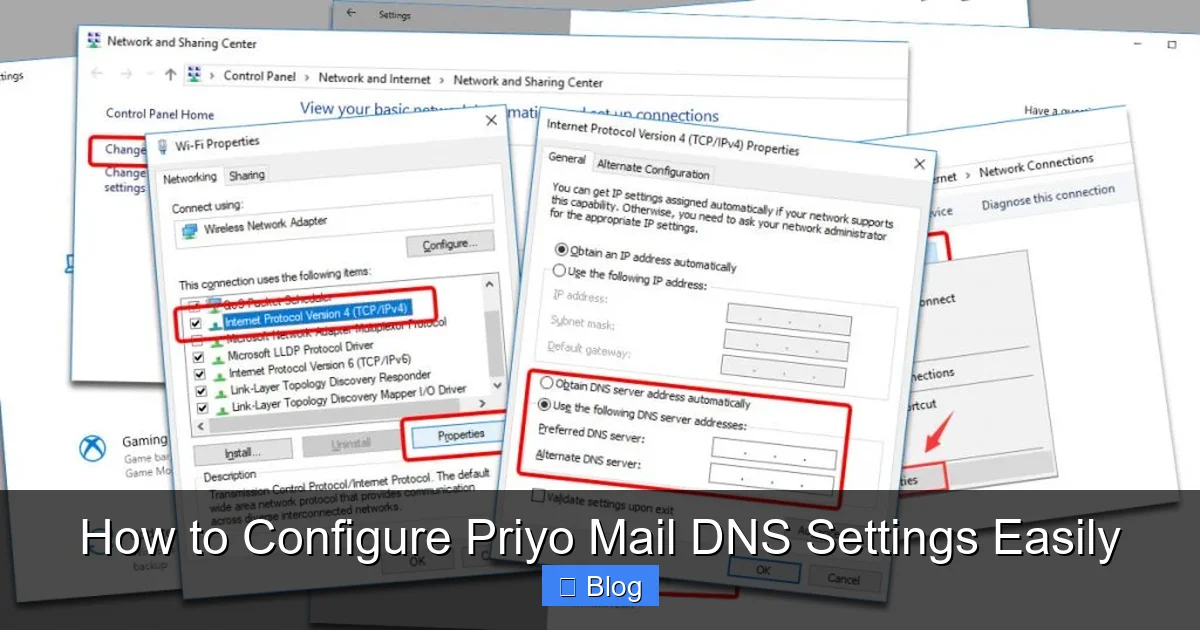
Visual guide about How to Configure Priyo Mail DNS Settings Easily
Image source: privateinternetaccess.com
Core DNS Records for Email
There are four main types of DNS records you’ll need to configure for Priyo Mail:
- MX Records (Mail Exchange): These tell the internet which mail server handles your emails. Without correct MX records, emails won’t reach your inbox.
- SPF Record (Sender Policy Framework): This lists which servers are allowed to send emails on behalf of your domain. It helps prevent spoofing and phishing.
- DKIM Record (DomainKeys Identified Mail): Adds a digital signature to your emails, proving they haven’t been tampered with in transit.
- DMARC Record (Domain-based Message Authentication): Tells receiving servers what to do if an email fails SPF or DKIM checks—like quarantine or reject it.
Each of these plays a vital role in ensuring your Priyo Mail account delivers emails securely and reliably. Skipping any of them can lead to deliverability issues or security vulnerabilities.
Step-by-Step Guide to Configuring Priyo Mail DNS Settings
Now that you understand the importance of DNS, let’s get into the actual setup. The process is straightforward, but it requires attention to detail. Follow these steps carefully to avoid common pitfalls.

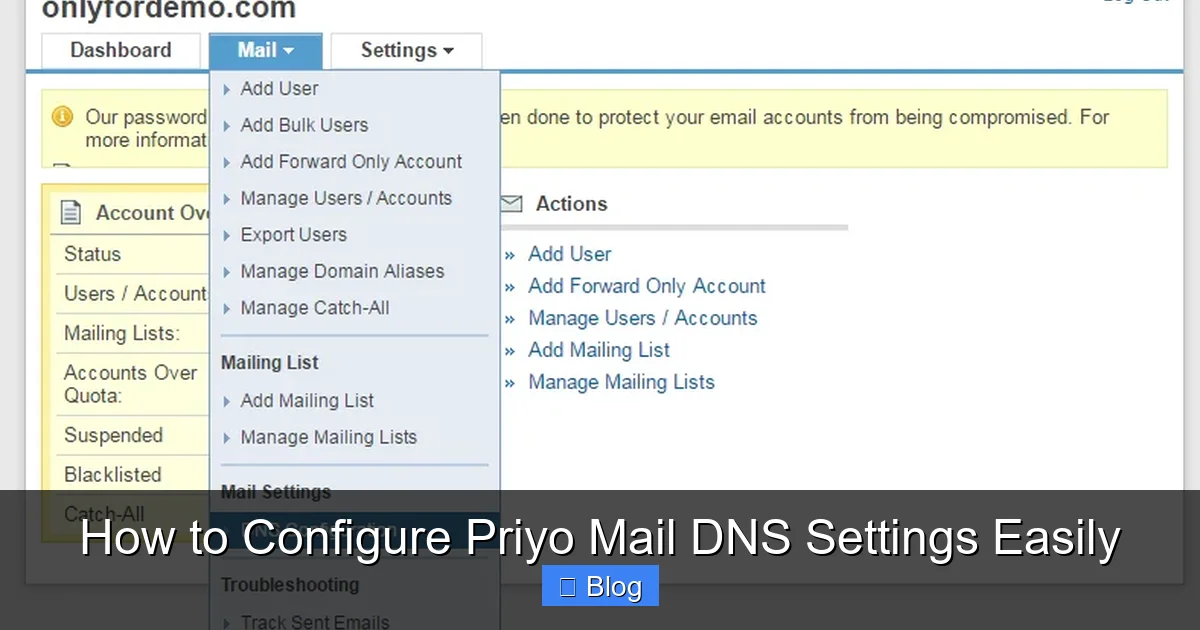
Visual guide about How to Configure Priyo Mail DNS Settings Easily
Image source: lifewire.com
Step 1: Log in to Your Domain Registrar
Start by logging into the account where you purchased your domain—this could be GoDaddy, Namecheap, Google Domains, Cloudflare, or another provider. Once logged in, navigate to the DNS management section. This is usually found under “Domain Settings,” “DNS Management,” or “Advanced Settings.”
Step 2: Add the MX Records
Priyo Mail provides specific MX server addresses. You’ll need to add two MX records for redundancy and reliability. Here’s an example of what they typically look like:
- Priority: 10 | Destination: mx1.priyomail.com
- Priority: 20 | Destination: mx2.priyomail.com
Make sure to remove any existing MX records from other email providers (like Gmail or Outlook) to avoid conflicts. The priority number determines which server is tried first—lower numbers have higher priority.
Step 3: Set Up the SPF Record
Next, create a TXT record for SPF. This tells other servers that Priyo Mail is authorized to send emails for your domain. A typical SPF record looks like this:
v=spf1 include:priyomail.com ~all
This means: “Only servers listed in Priyomail’s SPF record are allowed to send emails for this domain.” The ~all at the end means “soft fail” for unauthorized servers—use -all for stricter enforcement once you’re confident everything works.
Step 4: Add the DKIM Record
Priyo Mail will provide you with a DKIM selector and public key. You’ll need to create a TXT record with a specific name format. For example:
Name/Host: default._domainkey.yourdomain.com
Value: v=DKIM1; k=rsa; p=MIIBIjANBgk… (long string of characters)
This record allows receiving servers to verify that your emails were sent by an authorized server and haven’t been altered. Be careful when copying the key—missing a character will break authentication.
Step 5: Configure DMARC
DMARC builds on SPF and DKIM by telling receiving servers how to handle emails that fail authentication. Create a TXT record with the following format:
Name/Host: _dmarc.yourdomain.com
Value: v=DMARC1; p=none; rua=mailto:[email protected]
Start with p=none to monitor without enforcing actions. Once you’re confident everything works, you can change it to p=quarantine or p=reject for stronger protection.
Step 6: Save and Wait
After entering all records, save your changes. DNS updates can take anywhere from a few minutes to 48 hours to propagate globally. Avoid making multiple changes during this time, as it can cause confusion.
Common Mistakes to Avoid When Setting Up Priyo Mail DNS
Even small errors can cause big problems. Here are some common pitfalls and how to avoid them:
Visual guide about How to Configure Priyo Mail DNS Settings Easily
Image source: support.mailhostbox.com
Typographical Errors
One misplaced character in a DNS record can break email delivery. Always double-check values, especially in DKIM and SPF records. Use copy-paste instead of typing manually when possible.
Forgetting to Remove Old Records
If you’re switching from another email provider, old MX or SPF records might still be active. These can conflict with Priyo Mail’s settings. Always clean up outdated records before adding new ones.
Incorrect Record Types
Make sure you’re using the right type of DNS record. For example, SPF and DKIM use TXT records, not CNAME or A records. Using the wrong type will render the record useless.
Overlooking TTL Settings
TTL (Time to Live) determines how long DNS information is cached. Lower TTL values (like 300 seconds) allow faster updates but increase server load. For initial setup, a TTL of 3600 (1 hour) is usually fine.
Not Testing After Setup
Don’t assume everything works just because you clicked “Save.” Use tools like MXToolbox, Google Admin Toolbox, or DMARC Analyzer to verify your records are active and correct.
How to Verify Your Priyo Mail DNS Configuration
After setting up your DNS records, it’s crucial to test them. Here’s how:
Use Online DNS Checkers
Tools like MXToolbox or DMARC Analyzer let you enter your domain and check each record type. They’ll tell you if records are missing, incorrect, or not propagating.
Send a Test Email
Send an email from your Priyo Mail account to a Gmail or Outlook address. Check the email headers (usually under “Show original” or “View source”) to see if SPF, DKIM, and DMARC passed.
Monitor DMARC Reports
If you included a rua email in your DMARC record, you’ll start receiving daily reports. These show which servers are sending emails for your domain and whether they pass authentication. Use them to spot unauthorized senders or configuration issues.
Tips for Maintaining Your Priyo Mail DNS Settings
DNS isn’t a “set it and forget it” task. Here are some best practices to keep your email running smoothly:
Regular Audits
Check your DNS records every 3–6 months. Look for outdated entries, expired services, or changes in your email setup.
Update Records When Needed
If Priyo Mail changes its server addresses or security policies, they’ll notify you. Update your DNS records promptly to avoid service interruptions.
Use a Reliable DNS Provider
Some registrars offer basic DNS management, but services like Cloudflare or Amazon Route 53 provide faster, more reliable DNS with better uptime and security features.
Document Your Settings
Keep a secure record of all your DNS entries—names, values, and purposes. This helps during troubleshooting or if you need to migrate to a new provider.
Conclusion
Configuring Priyo Mail DNS settings might seem technical at first, but with the right guidance, it’s completely manageable—even for beginners. By setting up MX, SPF, DKIM, and DMARC records correctly, you ensure that your emails are delivered securely, land in inboxes (not spam), and protect your domain from abuse. Remember, DNS is the foundation of your email system. Take the time to do it right, test thoroughly, and maintain it over time.
Whether you’re a small business owner, freelancer, or IT admin, mastering DNS configuration gives you greater control over your digital communication. With this guide, you’re now equipped to set up Priyo Mail with confidence. So go ahead—log in, make those changes, and enjoy reliable, professional email delivery.
Frequently Asked Questions
What are the required DNS records for Priyo Mail?
Priyo Mail requires MX, SPF, DKIM, and DMARC records to function properly. These ensure email delivery, authentication, and security. Missing any of these can lead to failed deliveries or spam classification.
How long does it take for DNS changes to take effect?
DNS changes typically take 24 to 48 hours to propagate globally, though some updates may appear within minutes. Be patient and avoid making repeated changes during this period.
Can I use Priyo Mail with a free domain?
Yes, but free domains (like .tk or .ml) often have limited DNS management options and may not support all record types. For best results, use a paid domain from a reputable registrar.
What happens if I make a mistake in my DNS settings?
Incorrect DNS settings can cause emails to fail, go to spam, or be rejected. Use online DNS checkers to verify your records and fix errors promptly.
Do I need to configure DNS if I’m using Priyo Mail’s webmail?
Yes. Even if you access email via webmail, DNS settings are still required for sending and receiving emails. They ensure your domain is properly authenticated.
Can I use Priyo Mail with third-party email clients like Outlook or Thunderbird?
Absolutely. Once DNS is configured, you can set up IMAP/SMTP in any email client using Priyo Mail’s server settings. DNS ensures the servers are trusted and secure.
Leave a Reply